"People go to great lengths – and sometimes cost – today to find the “perfect” piece of distressed furniture. The truly dedicated people distress their own furniture and turn it into a one-of-a-kind treasure. This is the perfect way to add some “shabby chic” to your home.
With all the tutorials and DIY videos out there, you’ll undoubtedly find many different ways to distress furniture. Not all techniques are truly effective, though. Nearly everyone knows that one person who is so proud of their “creation,” yet no one has the heart to tell them that it looks terrible. Don’t be that person.
Theresa Higsby of Bee Hive Treasures provides a very thorough, yet easy-to-follow, tutorial on how to get the effortless shabby chic piece you’ve always wanted. Here’s a list of the supplies you’ll need:
Crackle Glaze
3 colors of chalk paint (she tells you how you can make your own to keep costs affordable)
● Vaseline
● Glaze
● Scraper
● Wet rag
● Plastic bag
● Paint brushes (the older the better)
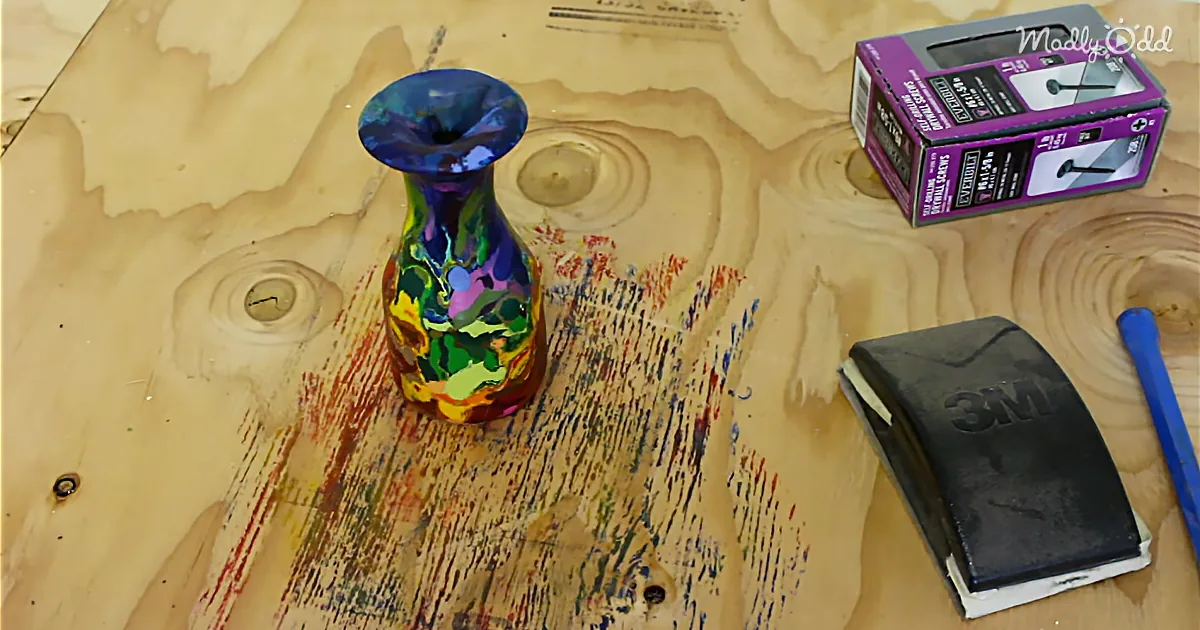
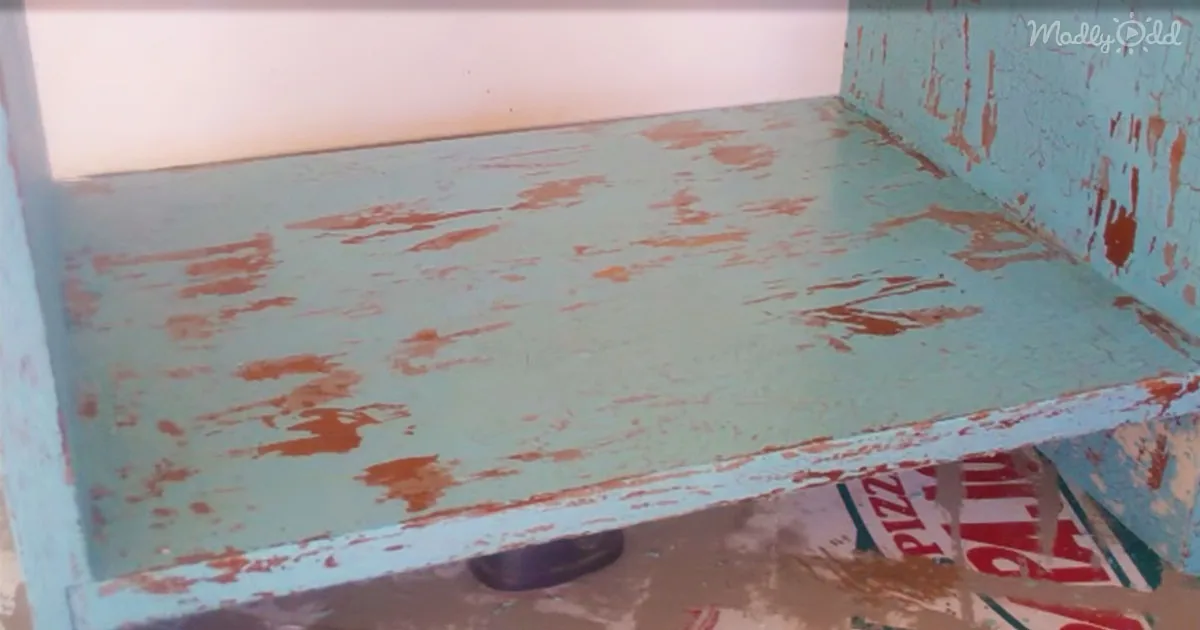
Start by brushing your base color of paint onto your piece of furniture. No need to worry about being perfect or leaving some lighter spots. The haphazard look is part of the charm you’re going for. After the coat is nearly dry – you still want a few tacky spots – lightly start to drag your scraper over the surfaces, partially exposing some of the wood underneath. Let the paint dry a bit longer before moving on to the next step.
Now, you’ll use some of the crackle medium to lightly brush over the first layer of paint. You guessed it – you don’t want it to be perfect. It doesn’t even have to cover every single crack and crevice.
After the crackle medium has completely dried, apply your second color of paint. This will be the primary color of your piece. Once the paint is nearly dry again, repeat the process of lightly using the scraper to scratch up a bit of the paint.
Before applying the third and final coat of paint, here comes the big tip – the Vaseline. Put the bag on your hand and lightly apply Vaseline to the surface of your furniture. Rub it in; you don’t want big clumps.
Apply the last of your paint. Grab the scraper again once the paint is almost dry. This time, you’ll use a little more pressure to pull up the majority of the last paint color since your primary color is underneath. Viola!
Take the time to watch this tutorial in full. Theresa offers some really good tips and tricks for those of us who aren’t experts. Finally – a distressing technique that actually works!"