"Window treatments are expensive, no matter if they are just basic panel curtains or custom blinds. While custom blinds instantly add flair and sophistication to your home, prices can get astronomical.
Better Homes and Gardens’ YouTube channel is one thing that fans really seem to love, with over 96,000 subscribers. This channel offers everything from improvement projects to entertaining ideas. BHG put out this great tutorial on how to repurpose those cheap mini blinds into beautiful, sophisticated Roman shades.
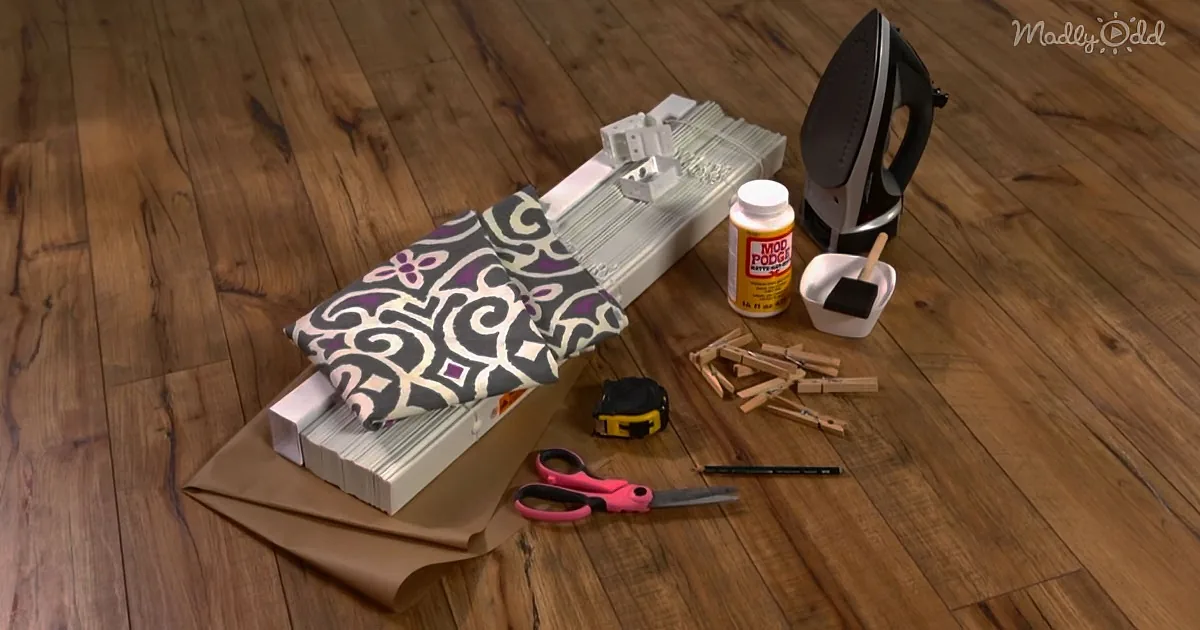
Supplies to gather:
● White faux wood mini blinds
● Thick Upholstery Fabric
● Mod Podge
● Foam application sponge brush
● Clothespins
First, measure how long your blind need to be and release the mini blind to the needed length. Lay it on a large flat surface, facing down and cut away only the ladder strings on both sides.
To figure out how many of the slat you’ll need, divide the length of your window by seven since the slats will need to be 7” apart. You won’t need the rest of the slats, so remove them by simply gently snapping the slat around the string area.
Lay your fabric underneath your blind with both the front of your fabric and the blind facing down. Space out the slats evenly about 7” apart. Trim your fabric to the needed length and width, making sure you allow about 2” of extra fabric extending beyond the slat ends to allow for a hem (left, right, top, and bottom). After trimming your fabric, iron the hems, so you have clean, straight lines.
Remove the stopper from the side of the top bracket, notch the top fabric hem, and wrap it cleanly around the bracket. Now apply the Mod Podge to the back of the fabric and glue it to the inside of the top bracket, both on the top and on the sides of the bracket. Use the clothespins as little clamps to keep the fabric folded over until it dries.
Secure your hems by applying the Mod Podge to the back hemline of the fabric on both the left and right sides of the blind. Also apply the glue to the front and back of the blind slats where it contacts with the fabric. Fold the fabric over the bottom of the blind and glue in place as well. Clamp the fabric to the slats until the glue dries.
Once the glue dries, remove your clamps and install your new Roman blinds. You now have custom, fully-operational, Roman blinds that match your space perfectly. Isn’t it time to upgrade your window coverings now?"