"While clean, contemporary lines are nice in a model home or resort, a home should feel lived in and be comfortable. There’s something special about having unique, one-of-a-kind pieces in your home. Why have the same piece of furniture thousands of other people have from the same big box store when you can create something special for your home?
Rustic décor and furniture are becoming increasingly popular. Many people pay a fortune to have some “antique” piece in their home, but for most normal people, that isn’t an option. For that reason, this DIY project may be the answer for you.
Building your own farmhouse table is a great way to add comfy, country appeal, while also adding a great deal of seating to your dining room. After all, the dinner table is the best spot to gather around with friends and family, right? For under $50 you can build your own sturdy, unique table within just a few hours.
This YouTube video tutorial has all the step-by-step instructions you’ll need to help walk you through the process. The first step in any project is ensuring that you have all the tools and materials you’ll need.
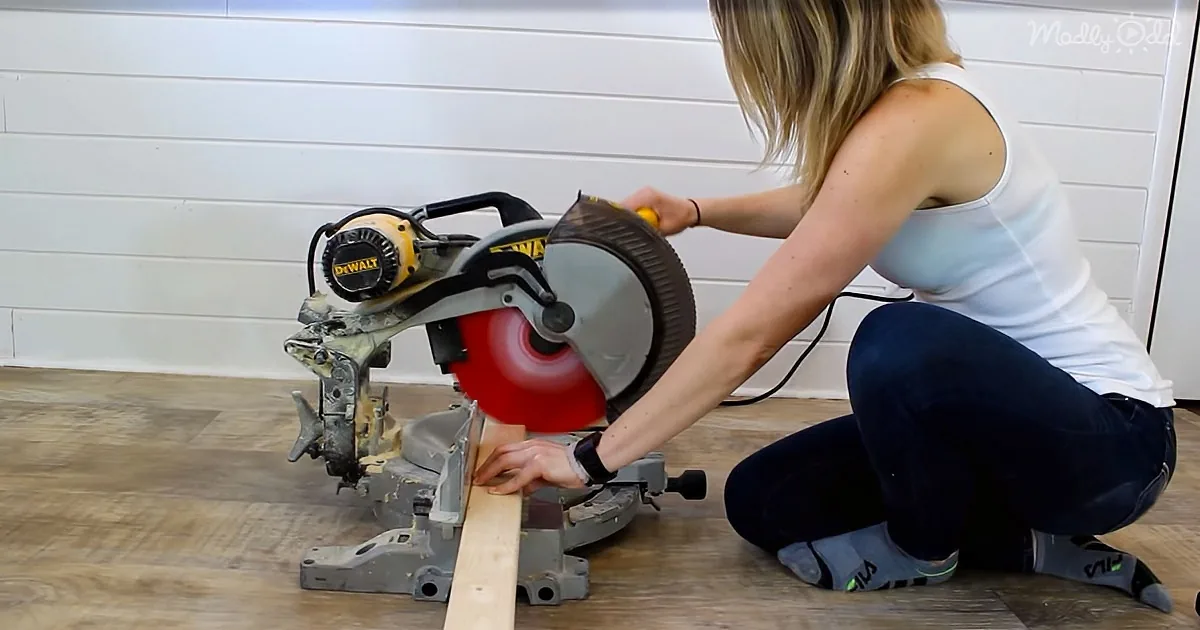
As with any woodworking project, safety is extremely important. Make sure you have a pair of safety goggles, a mask, and ear protection on hand during the cutting process. The tools you’ll need are as follows: miter saw or circular saw (depending on your skill level), drill, impact driver, and tape measure.
Below is your “shopping list” of things you’ll need to collect in order to build your very own farmhouse table that is 72” long x 37” wide x 30” high:
2” finishing nails
2” wood screws
5” wood screws
Wood glue
Sanding block
Stain color of your choice
Polyurethane
Wood
After you gather your supplies, begin by cutting your wood to the following dimensions:
(1) 4”x4”x10’ (cut into 4 pieces 29 ¼” long)
(3) 1”x4”x10’ (cut into 2 pieces 70” long and 5 pieces 33 ½” long)
(1) 1”x10”x8’ (cut into 2 pieces 37” long)
(2) 1”x10”x10’ (cut into 4 pieces 53 ½” long)
(2) 2”x3”x8’ (cut into 2 pieces 33 ½” long, 2 pieces 26 ½” long, and 1 piece 63 ½” long)
If you want your table to look gently used, you can distress it by following the tips in the video. After cutting your wood to the proper dimensions, sand down any rough edges.
Before your table can take shape, you need to create your table frame and inner framework using your 1”x4”s. Use both wood glue and your finishing nails to secure each corner and connection. Then add your two 2”x3”s that were cut to 33 ½” long to the inside the frame about 6” from the outside of the frame. These two boards should be perpendicular to the other support boards you just put in – it needs to be flush and parallel to the tabletop.
Now it’s time to put the tabletop on. Grab the two 1”x10”s that were cut to 37” long and place one width-ways on one short end of the table. Be sure that there is a 1” overhang on the three edges. The fourth edge of your board should rest halfway on the 2”x3”s you just added. Glue and nail the board in place.
Next, glue and nail the four 1”x10”s that were cut 53 ½” long onto the tabletop, perpendicular to the end board you just placed. Make sure that you’ve allowed a 1” overhang on the outside edges of the table. Finally, glue and nail the last 1”x10” onto the edge of the table just like you did on the other side.
Your tabletop is complete; now it just needs legs! Turn your tabletop upside down, so you have access to underside framework. Use the four 4”x4”s as your table legs. Insert them directly inside the corners of the framework and use your 5” wood screws to secure them in place from the sides.
With some help, flip your table over onto its brand-new legs. Before you finish the construction, you have one last step to make sure you table is sturdy and ready for family time.
Take the remaining three 2”x3”s and place the two smaller ends on either side of your 63 ½” long piece. The shape should look like a giant capital “I” or a really wide “H.” Secure these three pieces together with 2” wood screws. This will be your bottom framework of the table. Screw the support in place about 4”-6” from the bottom of the legs.
At this point, you can use wood filler to fill in any dents or holes you don’t like. Your table is now completely put together and sturdy as a rock. The only thing left to do is apply your stain and few coats of poly.
To get a nice sheen to your table, you can lightly sand your tabletop with a super fine grain sanding paper or block in between coats. Remember to wipe off the dust with a clean cloth before adding another layer of poly.
You now are the proud owner of a unique, one-of-a-kind farmhouse table. The nice thing about this style is that imperfections and little mistakes only add to its character. If you want to make seating in keeping with your farmhouse table, you can always make similar benches and stain them the same color as your table; but that is a different tutorial. For now, just sit down and enjoy a nice cup of iced tea at your new table."